
Next.js의 Redux를 이용해 " 투두리스트"를 만들어보자.
### useState
### Redux, selector, dispatch, slice
### Next.js 14
1. 폴더 구조
현재 Next.js 14버전을 이용했으며, AppRouter기반으로 진행하였다.

2. 전체코드
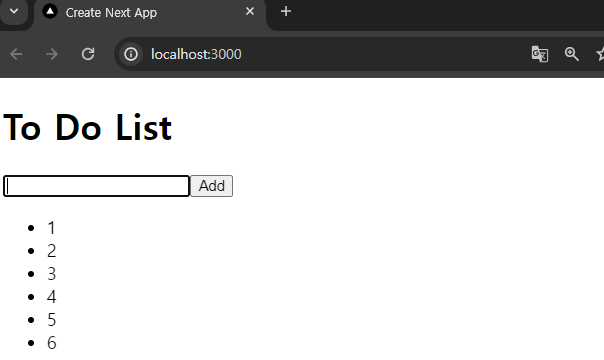
[Page.tsx]
'use client';
import { useState } from 'react';
import { add } from '../slice/todolistSlice';
import { useAppSelector, useAppDispatch } from '../redux/hook';

export default function Home() {
  const [text, setText] = useState<string>('');

  const toDoList = useAppSelector((state) => state.todo.toDos); // slice의 이름
  const dispatch = useAppDispatch();

  const onChange = (e: any) => {
    setText(e.target.value);
  };
  const onSubmit = (e: any) => {
    e.preventDefault();
    dispatch(add(text)); // 자료 추가
    console.log(toDoList);
    setText('');
  };
  return (
    <div>
      <h1>To Do List</h1>
      <form onSubmit={onSubmit}>
        <input type='text' value={text} onChange={onChange} />
        <button>Add</button>
      </form>
      <ul>
        {toDoList.map((toDo) => (
          <li key={toDo.id}>{toDo.text}</li>
        ))}
      </ul>
    </div>
  );
}
[todolistSlice.ts]
import { createSlice } from '@reduxjs/toolkit';

type InitialState = {
  toDos: {
    text: string;
    id: number;
  }[];
};

const initialState: InitialState = {
  toDos: [],
};

export const todoSlice = createSlice({
  name: 'todo',
  initialState,
  reducers: {
    add: (state, action) => {
      state.toDos.push({
        text: action.payload,
        id: Date.now(),
      });
    },
  },
});

export const { add } = todoSlice.actions;

export default todoSlice.reducer;
[store.ts]
import { configureStore } from '@reduxjs/toolkit';

import todoSlice from '@/slice/todolistSlice';

export const store = configureStore({
  reducer: { todo: todoSlice },
});

export type RootState = ReturnType<typeof store.getState>;
export type AppDispatch = typeof store.dispatch;
[provider.tsx]
'use client';
import { store } from './store';
import { Provider } from 'react-redux';

type Props = {
  children: React.ReactNode;
};

export default function ReduxProvider({ children }: Props) {
  return <Provider store={store}>{children}</Provider>;
}
[hook.ts]
import { useDispatch, useSelector } from 'react-redux';
import type { TypedUseSelectorHook } from 'react-redux';
import type { RootState, AppDispatch } from './store';

// Use throughout your app instead of plain `useDispatch` and `useSelector`
export const useAppDispatch: () => AppDispatch = useDispatch;
export const useAppSelector: TypedUseSelectorHook<RootState> = useSelector;
[layourt.tsx]
import type { Metadata } from 'next';
import { Inter } from 'next/font/google';
import './globals.css';
import ReduxProvider from '../redux/provider';

const inter = Inter({ subsets: ['latin'] });

export const metadata: Metadata = {
  title: 'Create Next App',
  description: 'Generated by create next app',
};

export default function RootLayout({
  children,
}: {
  children: React.ReactNode;
}) {
  return (
    <html lang='en'>
      <body>
        <ReduxProvider>{children}</ReduxProvider>
      </body>
    </html>
  );
}
redux에 대해서 더 공부하고 싶다면, 공식 홈페이지를 확인해 보자.
https://redux.js.org/introduction/getting-started
Getting Started with Redux | Redux
Introduction > Getting Started: Resources to get started learning and using Redux
redux.js.org
다음 시간에는, 리스트 제거를 진행해보자.
'[ Next JS ] 14' 카테고리의 다른 글
| [Next.JS] Hook으로 "시계" 만들기 (0) | 2023.12.26 |
|---|---|
| [Next.JS] Next JS란? 설치 및 세팅하기(Window) (0) | 2023.12.24 |